


|
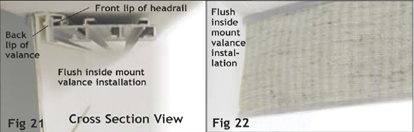
SLIDING PANELS INSTALLATION INSTRUCTIONS Step 1: Preparing To Install The Sliding Panels Track After removing panel track from its packaging, ensure you have all the parts needed for the installation. Do not dispose of the packaging until installation is complete. As with most installations of this type, a secure attachment to the mounting surface is required. All bracket mounting screws must screw into wood. If your particular install requires you to mount the brackets to a surface other than wood, be sure to use the appropriate fasteners. Step 2: Bracket Attachment Inside Mount: The swivel brackets must be located 4" in from the ends of the track. You must have a minimum of 1 3/4" of space from the center of the hole in the bracket and the window (or window hardware) for the two and three channel track. The four and five channel track require a minimum of 2 3/8" distance from the center of the hole to the window (or window hardware) This minimum distance will ensure the panels will have enough room to open and close. Attach the swivel brackets with the screws provided as in (fig 2) insuring brackets are all in line. Note: If installing a valance inside the window you must attach the valance to the headrail before attaching to the brackets otherwise, once the headrail is installed you will be unable to attach the valance (fig 21&22). Outside Mount: Locate the position of the headrail over the window. Mark the location of the ends of the headrail on the wall. Attach the extension brackets to the wall 4" in from the ends of the headrail. Make sure brackets are level with each other. If the panel track requires more than two brackets, locate the extra brackets level and evenly spaced between the two end brackets. If using the small nuts and bolts provided, attach the swivel brackets the extension brackets. Note: When a two track headrail is used with a valance (as in fig 3), the valance will come with slots to accommodate the swivel brackets. The swivel brackets must be located so they are aligned with these slots. | |
 | |
|
Step 3: Installing the headrail Rotate the swivel brackets to the open position (fig 5). Raise headrail to brackets, you may have to adjust the swivels to receive the track. Once headrail is in position, rotate the swivel brackets to the closed position (fig 6&7). Note: If your headrail has more than two brackets, start as close to the center as possible which will make installation much easier (fig 7). | |
 | |
|
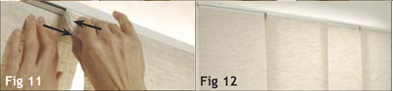
Step 4: Attaching The Panels Pull forward on the bottom of the front panel carrier and pushing back on the bottom of the back panel carrier, slide the back carrier from behind the front carrier (fig 8). Repeat this action for the number of panels on your headrail. Align the Velcro strip at the top of the panel with the Velcro strip on the front face of the panel carrier. Beginning at one end press the Velcro strips together across the panel carrier. Be sure to go back and press the Velcro to ensure a secure attachment (fig 9&10). Repeat this step until all panels are attached. After all panels have been installed, return the carriers to their original positions (fig 11). Once finished the panels should all overlap as in (fig 12). | |
 | |
 | |
|
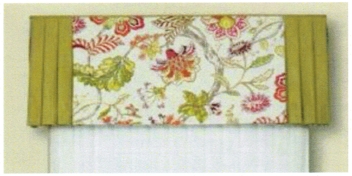
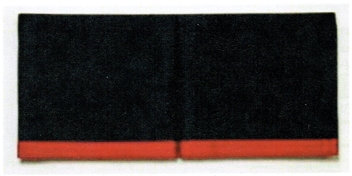
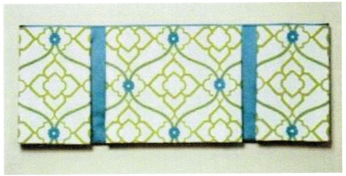
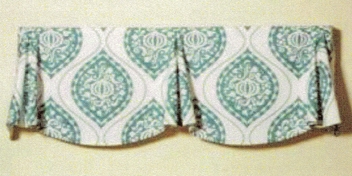
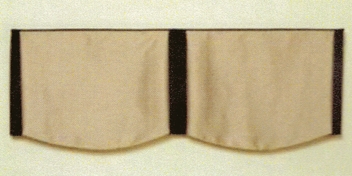
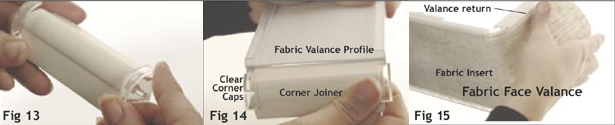
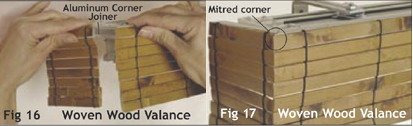
Step 5: Valance Assembly Fabric Valance: Attach the clear corner caps to the valance return joiners (fig 13&14). Attach the valance returns to the joiners. Attach the valance returns to the valance face. Insert the valance fabric across the valance face , around the corner joiners to the end of the returns (fig 15). Trim off any excess fabric. Note: Returns on valance are only required on outside mount installations. Woven Wood Valance: Identify the right and left valance returns, insert the L-shaped aluminum corner joiners into the ends of the valance face. Slide the returns onto the joiners until the mitered corners meet (fig 16&17). Note: Returns on valance are only required on outside mount installations. | |
 | |
 | |
|
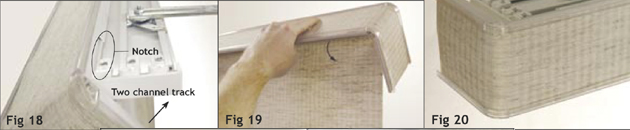
Step 6: Attaching The Valance To The Headrail Be sure the valance is centered on the headrail prior to installation. Rotate valance so the back lip slips into the front lip of the headrail (fig 21) rotate forward until valance snaps into the headrail. Both the Woven Wood valance and the Fabric valance attach to the headrail in exactly the same way. Note: For inside mount applications you must attach the valance to the headrail before installing on the brackets otherwise, once the headrail is installed you will be unable to attach the valance (fig 20&21). | |
 | |
 | |
|
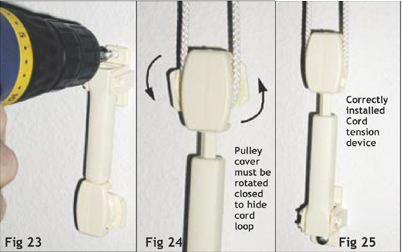
Step 7: Installing The Cord Tension Pulley You can mount the cord tension pulley to the wall for outside mounts. Once you have decided on the location, make sure the cord has enough tension while still moving freely through the pulley and install with screws provided. | |
|
Store Hours
Showroom : 3140-14 Ave , NE
( Unit 12) Calgary, Alberta, Postal code:T2A 6J4"Click here for directions

| Monday to Sunday - Appointment Only |
( Unit 12) Calgary, Alberta, Postal code:T2A 6J4"Click here for directions


Blinds
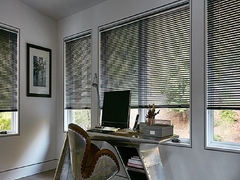
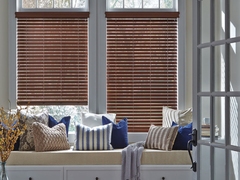
Shades
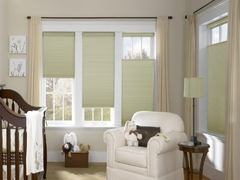
- Cellular Shades
- Zebra (Latest)
- Combi Roll(Latest)
- Double View Roller
- Shangri-La(Latest)
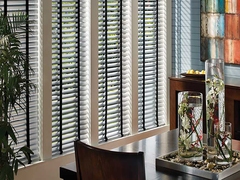
- Sheer Horizontals
- Solar Roller Shades
- Designer & Blackout Roller
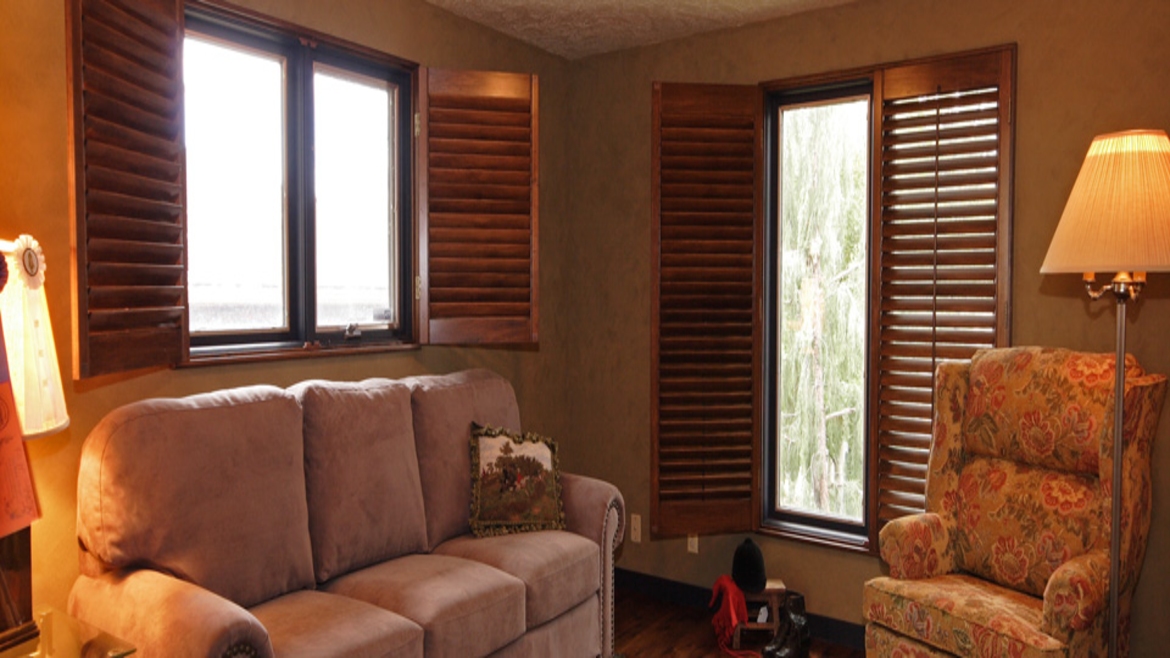
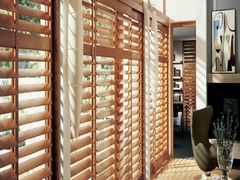
- Sliding Panels
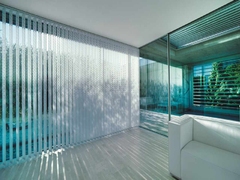
- Sheer Verticals
- Cellular Verticals
- Vertical Sheer
Specialty Products
GET A QUICK QUOTE
Top