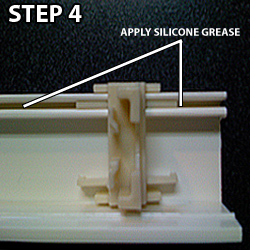


Skylight InstructionsParts List1. Skylight Shade (Handle is attached to movable) 2. Tube of Silicone Grease 3. Light Blocking Strip (Not require) 4. (2) Guide Plugs 5. (4) Brackets 6. (2) Retainers 7. (2) Color Strips Installation Procedure
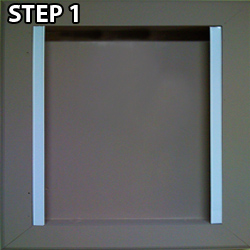
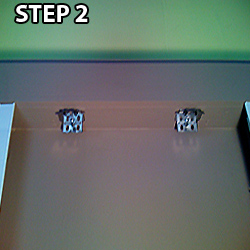
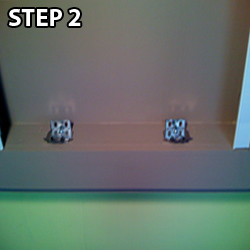
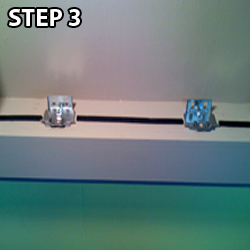
Adjusting shade tensionStep 1: If you notice that the cords are loose. Check the gap between the front of Headrail and Bottomrail and the front side of the Retainer Track. If the spacing isn't uniform, loosen mounting brackets and adjust as necessary. Step 2: Now you will need to adjust the tension in each cord using the Tension Bolts. Start by raising the Middle Rail up to the Top rail compressing the fabric tightly. Note: This will insure the leveling of the Middle Rail. Step 3: While holding the Middle Rail, start tightening one of the Tensioning Bolts clockwise using a flat head screwdriver. Turn Tension Bolt until all slack is removed, but cord isn't tight. Repeat for opposite side. Note: When tightening, the Tension Bolt should not be able to turn back. If it does turn back, tighten the bolt on the back side slightly or till Tension Bolt no longer turns back. If you have any questions about Installation, please give us a call or email. |
Store Hours
Showroom : 3140-14 Ave , NE
( Unit 12) Calgary, Alberta, Postal code:T2A 6J4"Click here for directions

| Monday to Sunday - Appointment Only |
( Unit 12) Calgary, Alberta, Postal code:T2A 6J4"Click here for directions


Blinds
Shades
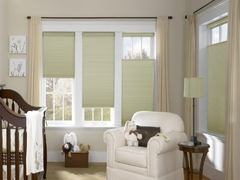
- Cellular Shades
- Zebra (Latest)
- Combi Roll(Latest)
- Double View Roller
- Shangri-La(Latest)
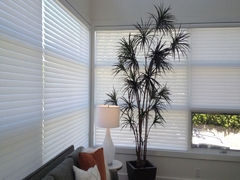
- Sheer Horizontals
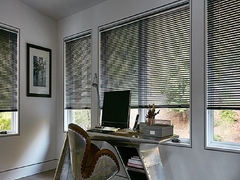
- Solar Roller Shades
- Designer & Blackout Roller
- Sliding Panels
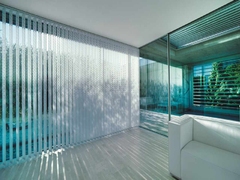
- Sheer Verticals
- Cellular Verticals
- Vertical Sheer
Specialty Products
GET A QUICK QUOTE
Top