


|
ROLLER SHADES CONTINUOUS LOOP INSTALLATION INSTRUCTIONS | |||||||||||||
| |||||||||||||
|
| |||||||||||||
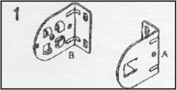
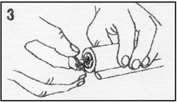
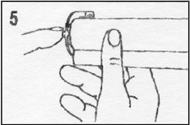 Press the square part of the locking bracket into B bracket until the locking button is notched into the front of the B bracket. 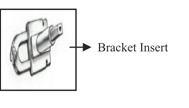 |
| ||||||||||||
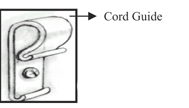 |
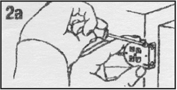
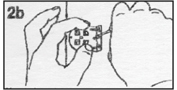
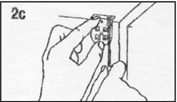
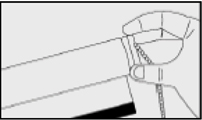
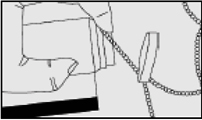
With safety in mind we have provided you with Cord Guides to keep the cords out of reach of small children. Mount the Cord Guide to the side of the window frame for inside mount, or the frame or wall for outside mount. Do not apply tension to loop control. The cord should run through the cord guide freely. | ||||||||||||
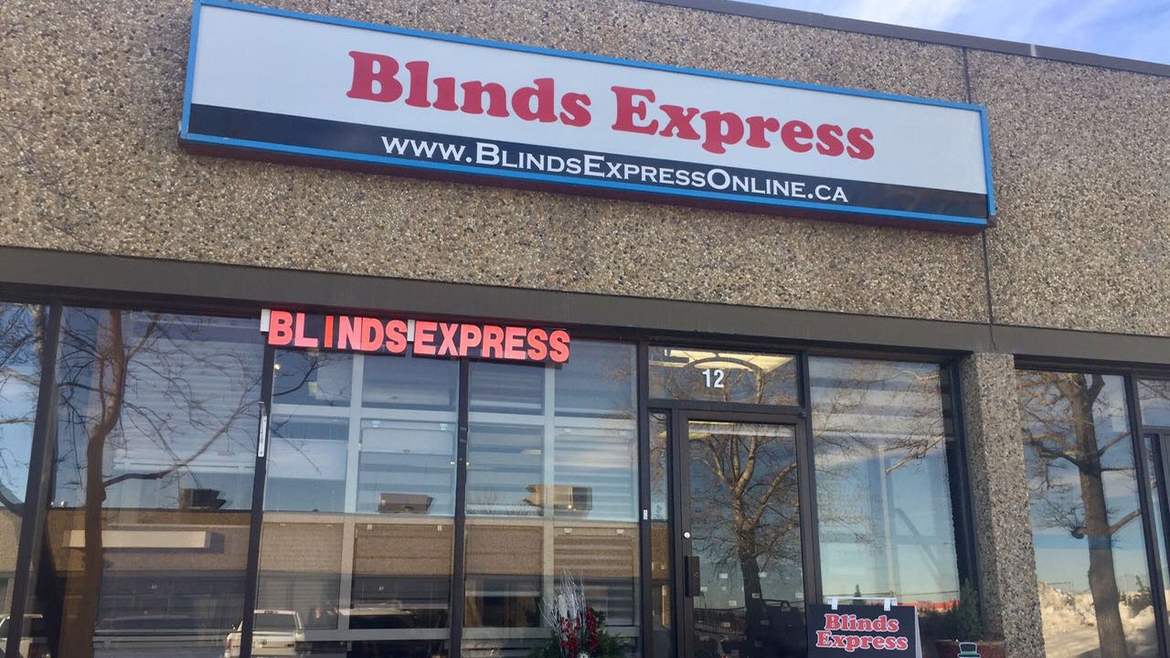
Store Hours
Showroom : 3140-14 Ave , NE
( Unit 12) Calgary, Alberta, Postal code:T2A 6J4"Click here for directions

| Monday to Sunday - Appointment Only |
( Unit 12) Calgary, Alberta, Postal code:T2A 6J4"Click here for directions


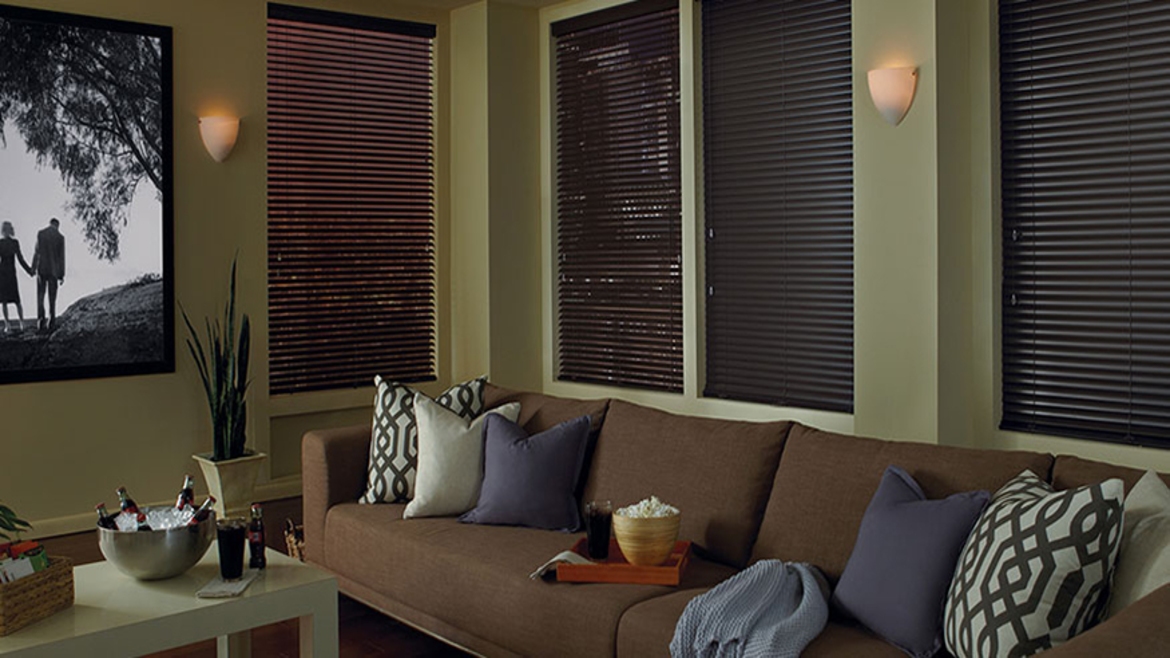
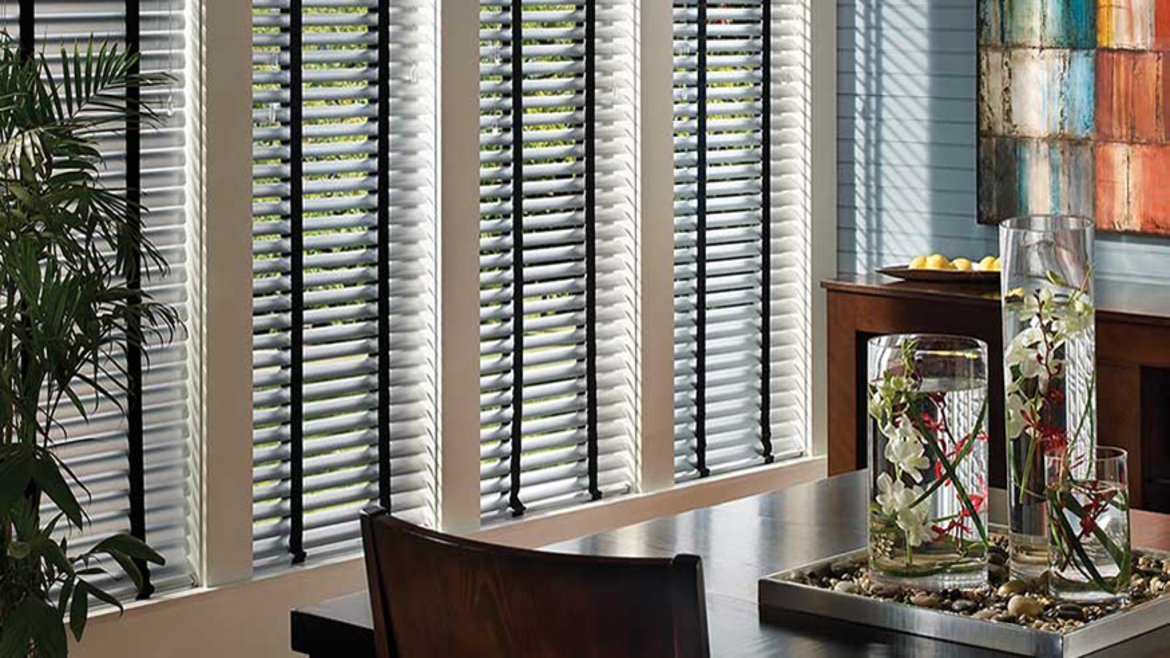
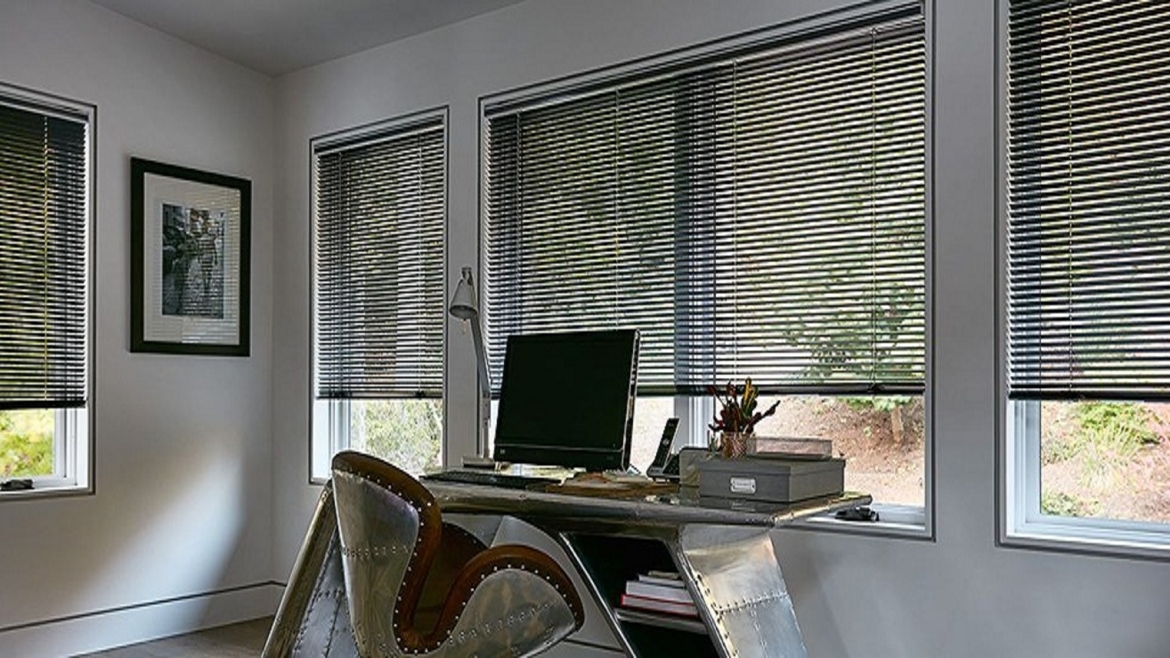
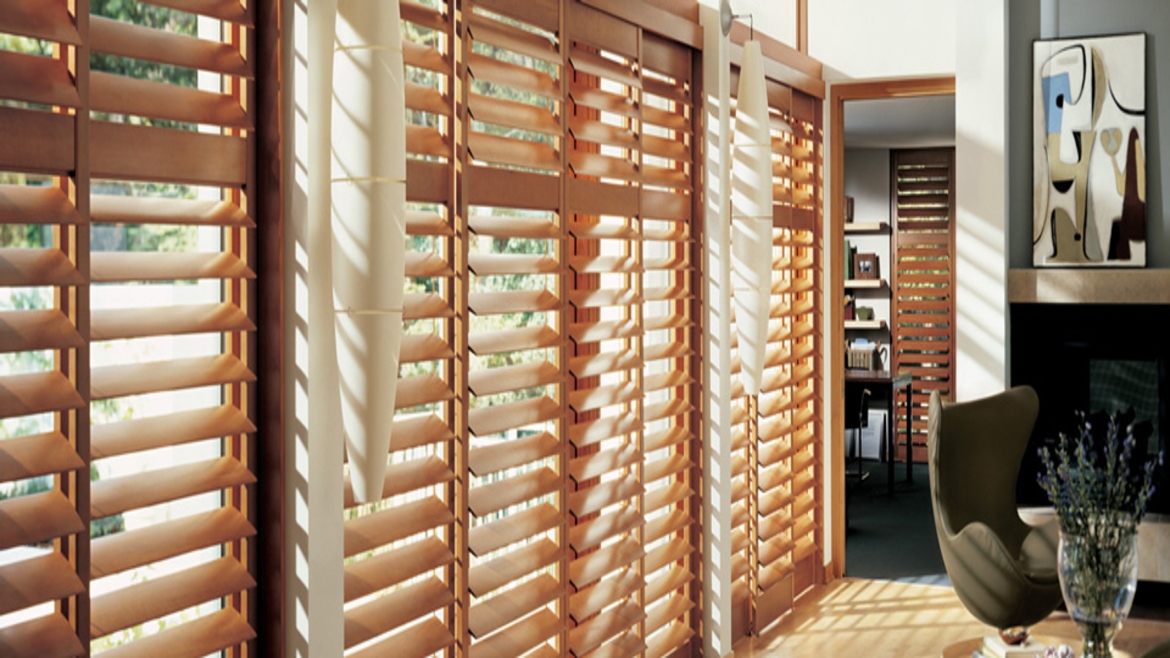
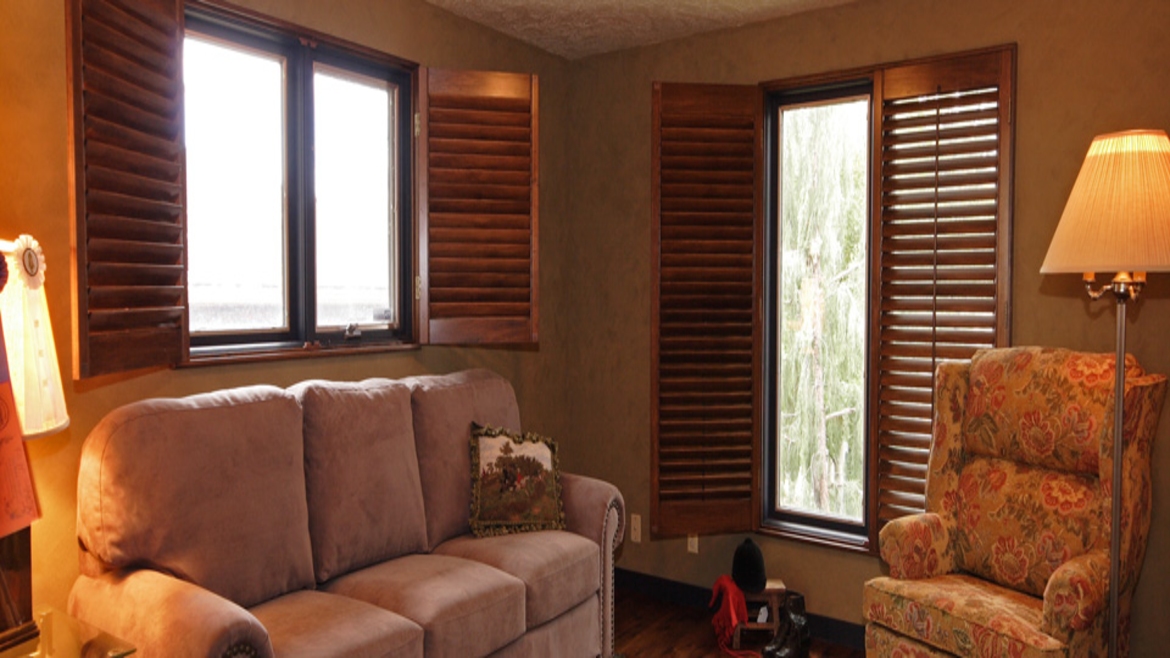
Blinds
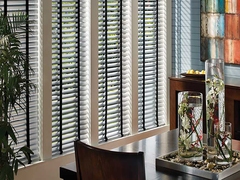
Shades
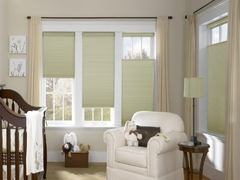
- Cellular Shades
- Zebra (Latest)
- Combi Roll(Latest)
- Double View Roller
- Shangri-La(Latest)
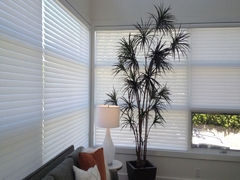
- Sheer Horizontals
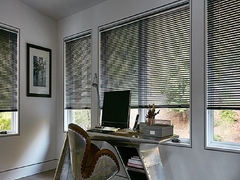
- Solar Roller Shades
- Designer & Blackout Roller
- Sliding Panels
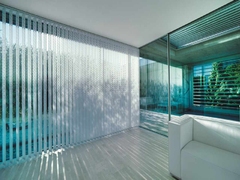
- Sheer Verticals
- Cellular Verticals
- Vertical Sheer
Specialty Products
GET A QUICK QUOTE
Top