


|
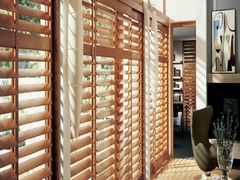
PLEATED SHADES INSTALLATION Lift Installation Instructions Please note that the lift mechanism should not be operated prior to the shade's installation. Before proceeding with installation, please note that the proper shade support, clips and brackets should not be mounted more than 48" apart. Outer supports should be approximately two inches from the end of the headrail. Please use wood screws or appropriate fasteners for other surfaces. Position the shade at the window to determine the location of the supports. Then follow the installation procedure specific to the shade support system enclosed with your shade and the type of mounting requried. | |
|
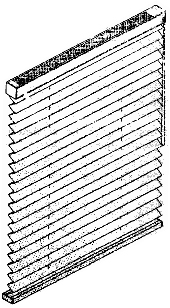
Thank you for choosing your new pleated shade. With proper installation and care, your new shade will provide many years of beauty and performance. To install your new shade you will need a few simple tools:
| |
|
Expansion or toggle bolts are required with non-solid surfaces, such as drywall or lath plaster. | |
 |  |
 | |
|
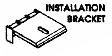
Installation brackets are attached either inside or outside the window well, depending on whether the shade was ordered as an inside mount or an outside mount. In addition to the installation brackets, other components may be needed to install your new pleated shades. For example, on outside mount applications, spacer blocks or extension brackets are often used with the installation brackets to allow the shade to clear obstructions. Hold down brackets are optional installment components. They are used to prevent the bottom of the shade from swaying. The installation hardware you received with your pleated shades was specified at the time the shades were ordered, based upon your particular installation needs. The installation is organized into easy steps. Before you begin, however, please completely read these instructions to acquaint yourself with all of the procedures | |
|
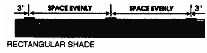
INSTALLING BRACKETS Bracket Spacing Bracket spacing is the same for both inside and outside mounts. Two installation brackets are positioned so that their centerlines are 3" from the ends of the shades. If more than two brackets are required, additional brackets are spaced evenly between the two end brackets. Measure and mark all bracket centerlines. | |
 | |
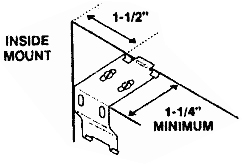
| Inside Mount Applications To inside mount a pleated shade, attach the tops of the installation brackets to the top sill of the window opening. To fully recess the shade, flat surface of the sill must be at least 11/2" deep. Add to this minimum depth requirement the dimension of any obstruction to shade movement, such as a window crank or handle. |  |
| Only one screw is needed to attach each bracket in inside mount applications. Locate the screws on the centerlines you marked and attach the brackets so that their front edges are aligned. | |
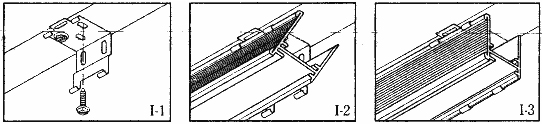
| Inside or Ceiling Mount Place screws through top of bracket and secure to casting or ceiling (I-1) Attach shade to brackets by placing front edge of headrail into the front bracket lip (I-2) Push back of headrail up into the back of the bracket lip until the headrail snaps securely into place (I-3) | |
 | |
|
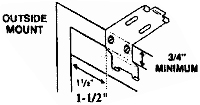
Outside Mount Applications Mount the ends of the installation brackets on a flat vertical surface at leased 5/8" high. Two screws are used to attach each bracket. Position the brackets on the centerlines you marked and attach them with the appropriate fasteners. The tops of the installation brackets must be on the same level and parallel to the tops of the installation brackets must be on the same level and parallel to the top of the window opening. |  |
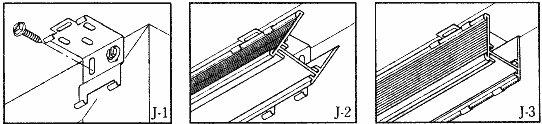
| Outside or Wall Mount Place screws through top of bracket and secure to wall or frame (J-1) Attach shade to brackets by placing front edge of headrail into the front bracket lip (J-2) Push back of headrail up into the back of the bracket lip until the headrail snaps securely into place (J-3) | |
 | |
| Spacer Blocks Spacer Blocks are used to project the installation bracket away from the mounting surface when additional shade clearance is needed. Use a maximum of three blocks, with the solid sides facing the mounting surface. Check to be sure your mounting screws are long enough for secure installation. | 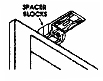 |
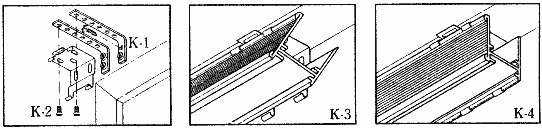
| Extension Brackets Extension brackets can project the installation brackets up to 21/5" from the mounting surface. Position the brackets on the centerlines you marked and use two screws to attach them. Align the tops of the brackets on the same level. For angled-top shades align the tops of the brackets parallel to the sloped top of the window opening. Connect the installation brackets with the machine screw and speed nut which is included with each extension bracket. Be sure to use the same hole on all the extension brackets so that each installation bracket projects the same distance from the mounting surface. |  |
| Indentations are cast into the extension bracket between each hole. If desired, an unneeded length of bracket may be cut off. This should be done before mounting the bracket. | |
| Projection Mount Attach angular supports to wall or frame. Two supports are needed for each bracket (K-1) Attach the bracket, placing screws through the top of the bracket and through the angular support (K-2) Attach shade to bracket by placing front edge of the headrail into front bracket lip (K-3) Push back of headrail up into the back of the bracket until the headrail snaps securely into place (K-4) | |
 | |
| INSTALLING THE SHADE Unwind the cord from around the shade assembly and let it hang. With the cordlock facing you, slip the headrail into the installation brackets. The front lips on the brackets fit into the front groove on the top of the rail. Push on the rail until it snaps into place. | |
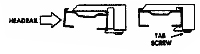 | |
| After making sure that no fabric is trapped between the headrail and the tabs on the installation brackets, use a screwdriver to tighten the tab screw on each bracket until it is just snug. Do not over tighten. | |
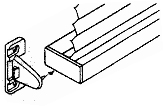
| Optional Hold Down Brackets With the shade at its full drop, place the pin on each of the two hold down brackets into the bottom rail end caps and mark mounting hole locations, attach the hold down brackets with one screw through the side hole or two screws through the end holes. Be sure the bracket pins are aligned and level. | |
 | |
| CONTINUOUS CORD LOOP SHADE | |
 | |
| Installing Brackets Inside Mount Applications For inside mounting the shade, attach the tops of the installation brackets to the top sill of the window opening. To fully recess the shade, the flat surface of the sill must be at least 11/4" deep. Add to this minimum depth requirement the dimension of any obstruction to the shade movement, such as a window crank or handle. Two screws are needed to attach each bracket. Position the brackets so that their front edges are aligned. | |
 | |
|
Outside Mount Applications Mount the ends of the installation brackets on a flat vertical surface at least 3/4" high. Two screws are used to attach each bracket. Position the brackets so that their tops are on the same level and parallel to the top of the window opening. | |
 | |
| Cleaning Instructions Lay shade out on a clean flat surface. If the shade is dusty, simply vacuum over it using the brush attachment. For cleaning soiled spots on shade, we recommend using an aerosol spray foam fabric cleaner. Spray the foam cleaner over the area to be cleaned. Immediately scrub the area with a clean damp sponge (back and forth gently in a direction parallel to the pleats) until the stains are removed. Be careful not to crush or wrinkle the fabric. Remove the cleaner from the fabric with a damp sponge. We do not recommend soaking or submerging the entire shade in water. Remove the excess water from the fabric by padding with a clean dry towel. Hang the shade up when dry. Frequent or repeated cleaning may tend to remove the fullness and body of the pleated fabric. |
|
Store Hours
Showroom : 3140-14 Ave , NE
( Unit 12) Calgary, Alberta, Postal code:T2A 6J4"Click here for directions

| Monday to Sunday - Appointment Only |
( Unit 12) Calgary, Alberta, Postal code:T2A 6J4"Click here for directions


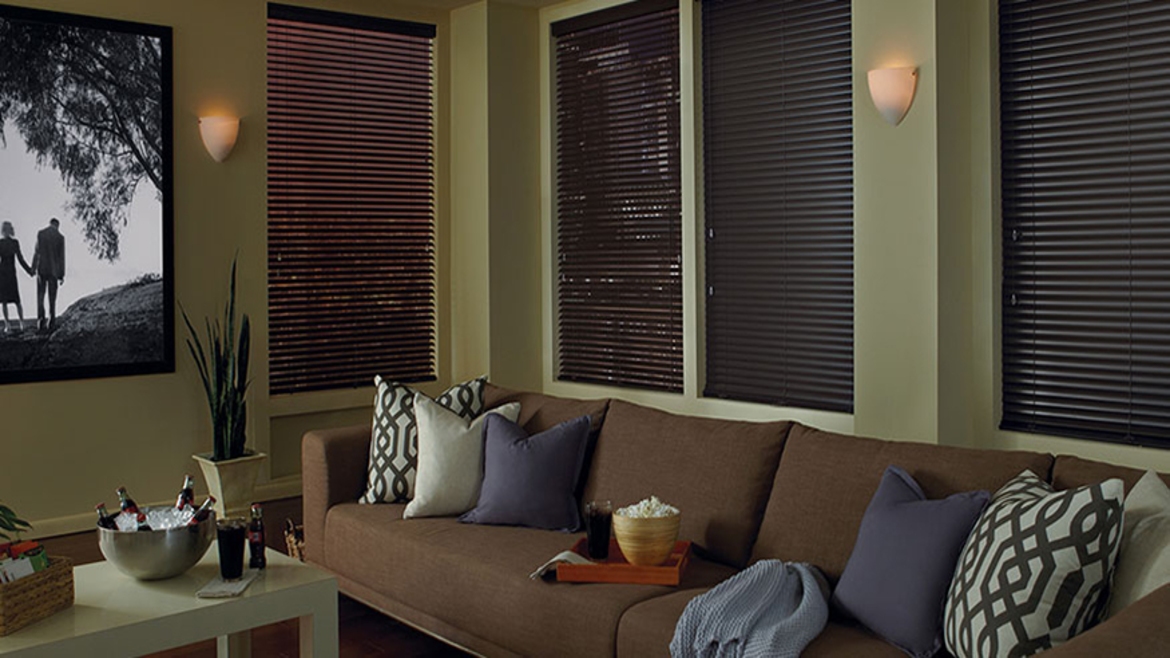
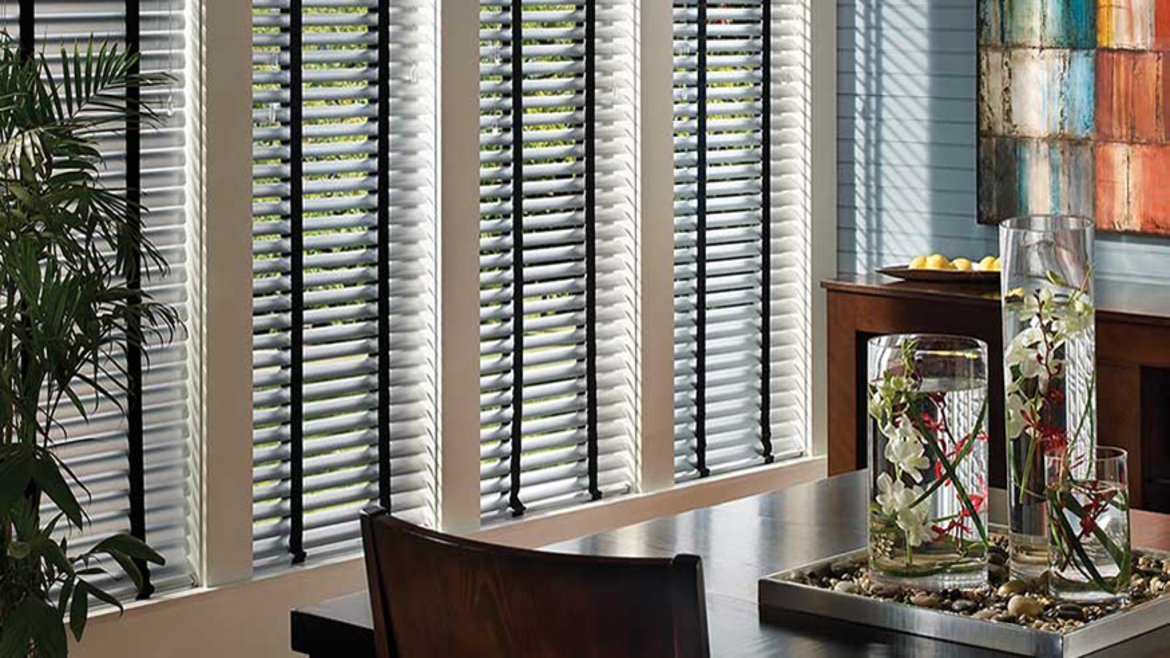
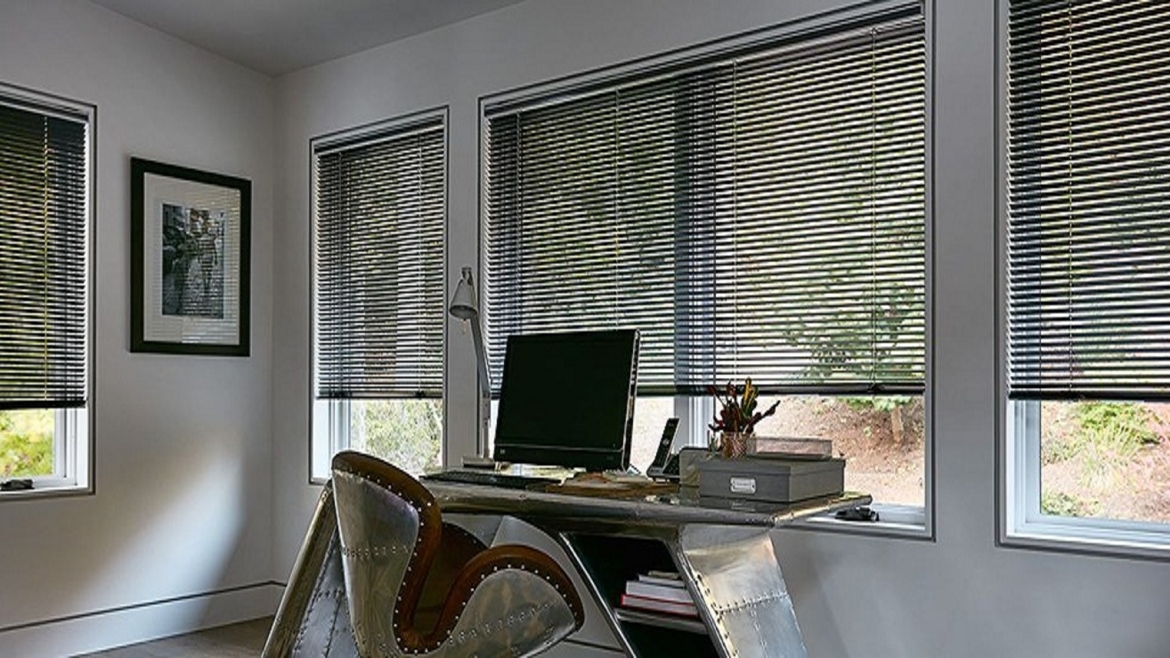
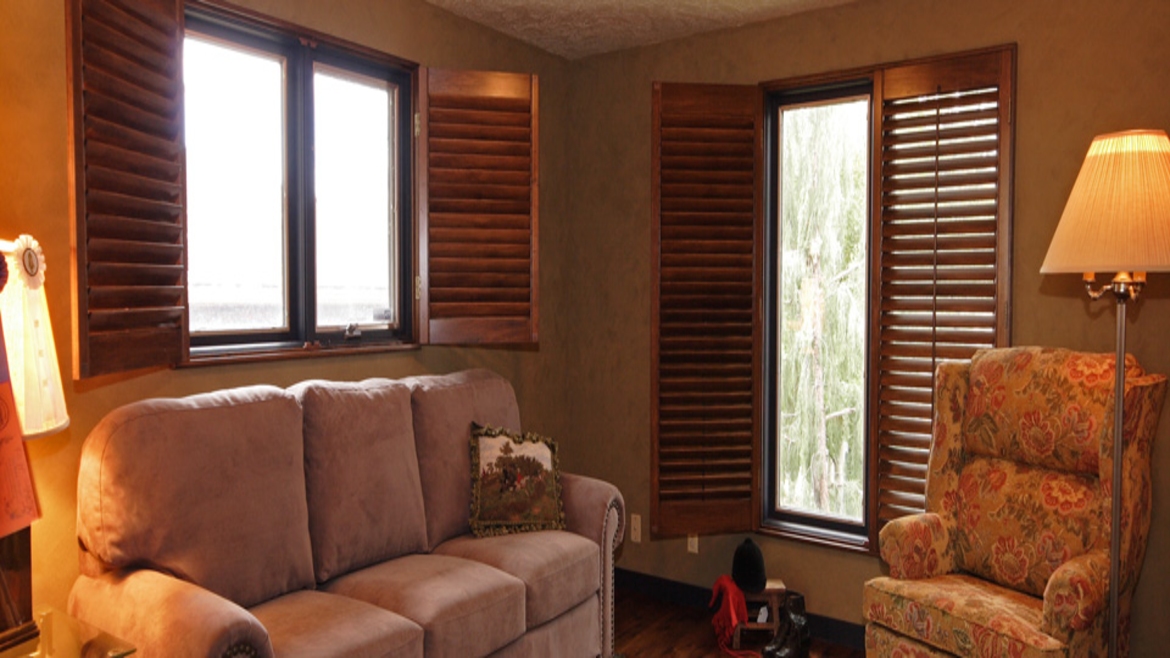
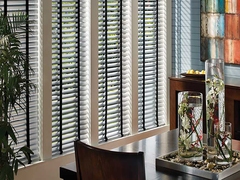
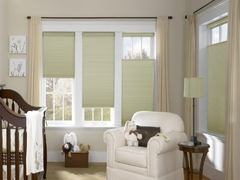
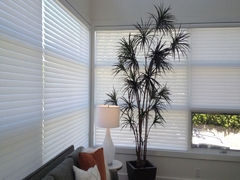
Blinds
Shades
- Cellular Shades
- Zebra (Latest)
- Combi Roll(Latest)
- Double View Roller
- Shangri-La(Latest)
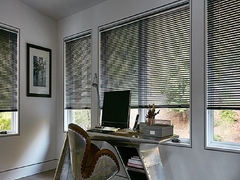
- Sheer Horizontals
- Solar Roller Shades
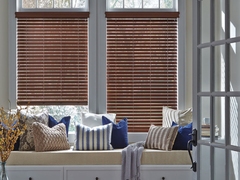
- Designer & Blackout Roller
- Sliding Panels
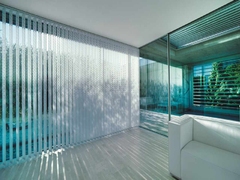
- Sheer Verticals
- Cellular Verticals
- Vertical Sheer
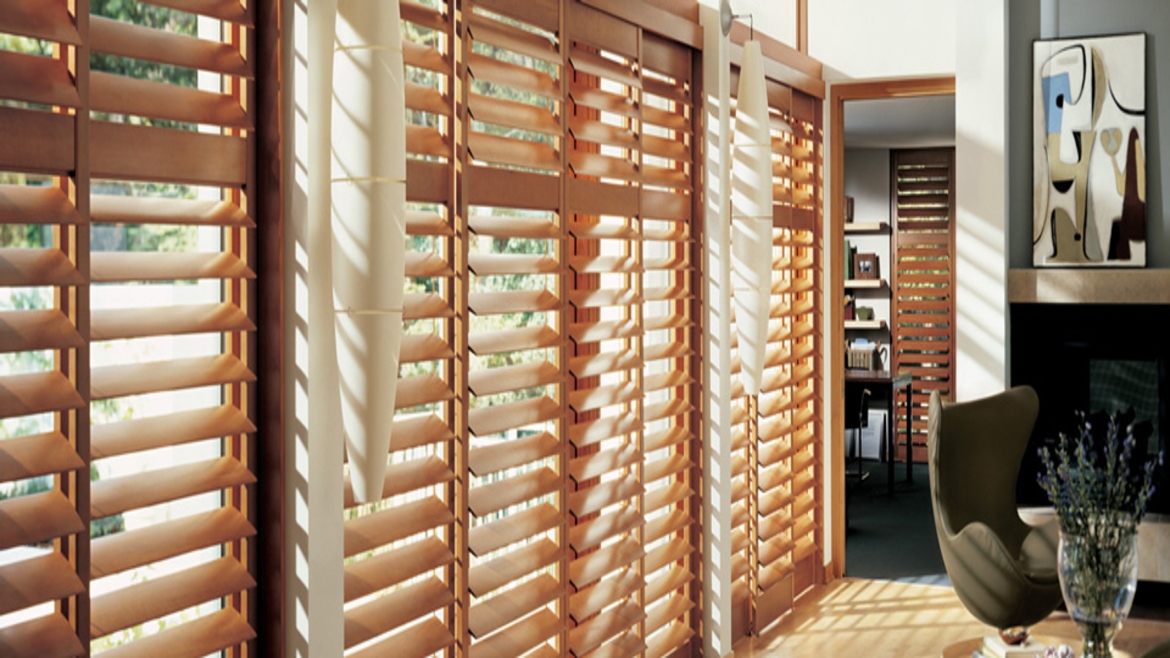
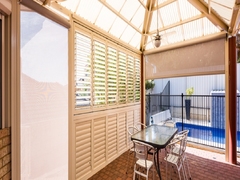
Specialty Products
GET A QUICK QUOTE
Top