


|
HOW TO INSTALL WOVEN WOOD SHADES Congratulations on your purchase. Your shade has been custom made to your specifications and is one of the finest window treatments available. Before you unwrap your blinds, please take a few moments to read these instructions. With careful installation and periodic cleaning your shade will provide you with many years of trouble free service. Your shade includes the following:
To install your shade you will need the following tools:
SUGGESTED FASTENER GUIDE Anchors(not supplied) Plastic or lead anchor insert.  Plastic anchor insert for lightweight blind only, in drywall, paneling, etc. Hollow Wall Anchors(not supplied) Hollow wall anchors for heavy blinds  | |
Hollow wall toggle bolt for heavy blinds. | |
 | |
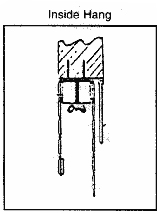
INSTALLATION & OPERATING INSTRUCTIONS WITH WING NUT BRACKETS Roman & Roll-up Shades Your woven wood shade is custom made using the finest materials available. Each shade includes all necessary installation hardware and has been checked for operation and alignment. The following instructions are for the three most common installation types. Inside Hang(ceiling mounted)- Shade is measured and assembled to fit inside the window casement with mounting brackets that is installed to the top casing with screws placed opposite corners. The wing nuts are removed. The screws slide through the slots on the headrail and are secured by a wing nuts. | |
  | |
Outside Hang (ceiling mounted)- Shade is measured and assembled to overlap the window casing. The mounting brackets are then installed to the ceiling by means of screws or toggle bolts placed at opposite corners. Remove wing nuts. The screws slide through the headrail slots and are secured with wing nuts. | |
 | |
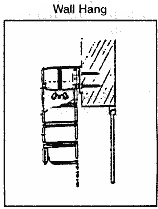
Outside Hang (wall mounted)- Shade is measured and assembled to overlap the window casing. The mounting brackets are then installed to the wall by means of screws or toggle bolts placed at opposite corners. Remove wing nuts. The screws slide through the headrail slots and are secured with wing nuts. | |
  | |
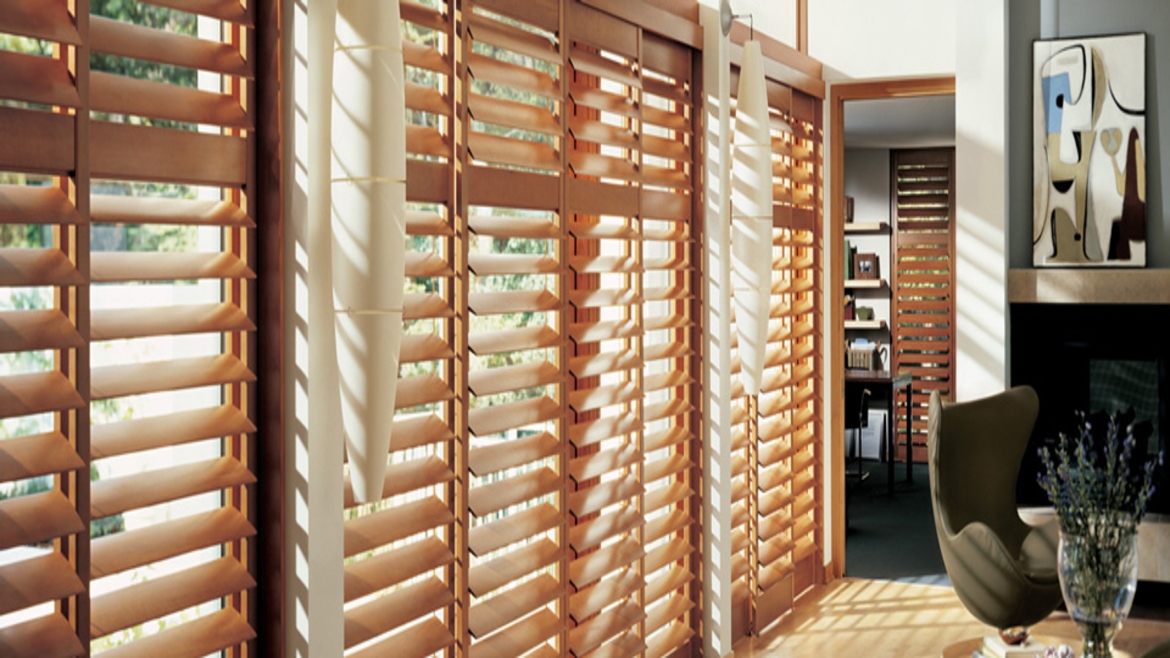
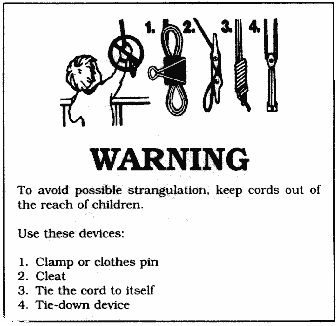
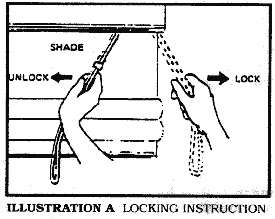
| OPERATING INSTRUCTION Woven Shade Operation & Adjustment Yarn and wood used on these fabrics have been specially selected. The wood slats retain the grain texture and irregularities inherent in natural wood of this type. The selection of pattern and yarns combines this natural wood with the most contemporary colors for a truly unique window fabric Shade Operation Both Roman & Roll-Up shades have the same basic hardware and operating procedure. Cords, whether installed on the left or right side have the same locking mechanism. (See illustration A). To raise the shade merely pull on the cord and release the cord when i has reached its desired height. To lower the shade, pull the cord to the center of the shade with a slight tug. Then keep tension on the cord at that angle slowly let the cord go up, thus lowering the shade. if the shade should bind, check the cord alignment over the pulley (under valance). | |
 | |
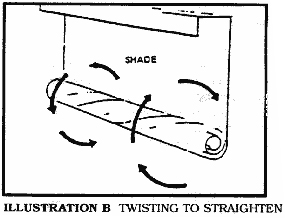
Shade Adjustment & Alignment Your shade has been carefully inspected and adjusted by the factory, but minor adjustments may be necessary once it has been installed. The yarns in your woven shades are flexible enough to permit minor adjustment horizontally and vertically for proper alignment on your window. If the bottom of your shade becomes uneven, merely pull down on either side to stretch the yarn and align the shade. If your shade doesn't lie flat against the wall or window, roll the shade tightly from the bottom and twist roll (illustration B) clockwise on one side, counter clockwise on the other, and this will align the yarn and slats. Should a strand of yarn slip off the edge of the shade, remove the strand from top to bottom - this will in no way affect the strength of the shade | |
 | |
Shade Maintenance Clean by Vacuuming. |
|
Store Hours
Showroom : 3140-14 Ave , NE
( Unit 12) Calgary, Alberta, Postal code:T2A 6J4"Click here for directions

| Monday to Sunday - Appointment Only |
( Unit 12) Calgary, Alberta, Postal code:T2A 6J4"Click here for directions


Blinds
Shades
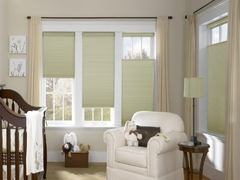
- Cellular Shades
- Zebra (Latest)
- Combi Roll(Latest)
- Double View Roller
- Shangri-La(Latest)
- Sheer Horizontals
- Solar Roller Shades
- Designer & Blackout Roller
- Sliding Panels
- Sheer Verticals
- Cellular Verticals
- Vertical Sheer
Specialty Products
GET A QUICK QUOTE
Top